Brushes
Basic Brushes
Square, Diamond, Circle

The basic brush icons have the shape highlight to distinguish them apart. They are a simple highlight function. You can use a basic brush to go over another color's overlay.
Usage: select the brush indicator on the left, then select the brush with the desired shape and then the color for the overlay. Afterwards left clicking on the image will paint the new overlay.
Warning: Make sure eraser is not selected or brush wont work.
Bucket Fill
Usage: The bucket expands in a diamond pattern and will stop once it fills the inside of a brushed shape. If there is no shape to fill it will cover the whole image.
Warning: If color is changed during fill it will continue with the changed color.
Advanced Brushes
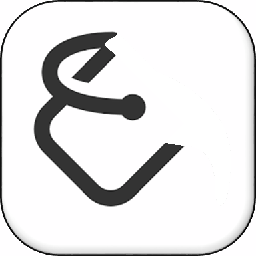
Edge Following
The Edge Following tool uses linear regression to determine what pixels are apart of the membrane structure and overlays them.
Usage: Unlike the other tools the Edge Following tool is for overlaying the outside of the structure. This can then be taken into a 3D model to display the full shape and size of the structure.
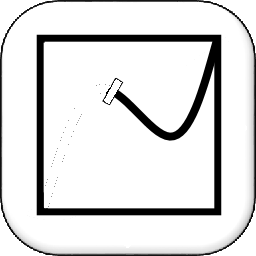
Ray Cast

Ray Cast brush will paint dynamically avoiding dark borders so the edges of structures can be highlighter easier.
Usage: Ray Cast should be used for tracing right beside the border of a structure and can be resized to highlight smaller or larger structures. To use it is the same as the other brush tools with a left click and drag.
Extensions
Color Picker
Currently there is a selection of six different highlights on the right side of the main UI to create overlays with. When you draw with red it can only be erased with a red selected with the eraser, or by coloring it over with a different color.
Scale
The scale at the bottom of the main UI is used for all tools to change the size of the brush or eraser. The left side is smallest to the largest on the right.
Erasers
Basic Eraser
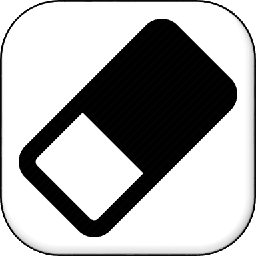
The basic eraser tool removes the overlay with the selected brush style and same color.
Usage: Select the brush style you would like to erase with then select the eraser and color of the overlay. Then click and darg over the area you desire to remove.
Hotkey: Alt
Black Hole
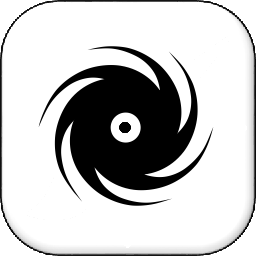
The Black Hole eraser removes all connected color of the overlay.
Usage: Select the color of the overlay that you desire to remove and the Black Hole tool. Then click inside the overlay. The tool will remove only that color from the selected region. Actions can interrupt this function so wait til the overlay is completely removed to make sure nothing is left behind.
Utility
To access utility functions select the "File" dropdown in the top left.
Saving
Save
Save can save the overlay of the highlights, save the project, or save them both.
Save as
Save as can save the overlay or project with a different extension.
Usage: Both tools save the data of the images or the highlight put on top of them. Select either "Save" or "Save as" then select which portion you wish to save. For "Save as" then specify what extension or file type to save them as.
Warning: Do not save any other files in to the images folder. All project files should be saved into a seperate folder to ensure proper loading.
Loading

Load can open an existing project, overlay, or png images in a folder.
Usage: Select "Load" and open the folder of images and select any image inside it. It will load all png files in the folder.
Export
There is two ways to export a project either as the png files or as a 3D rendered model.
Export as png
Export as png combines the images with the overlay drawn on them into a stack of just png images.
Export 3D model
Export 3D model renders the overlays through the image stack in to a 3D representation.
Usage: Select either tool under the export drop down. To export as png it will then open the file explorer and you will need to name the files. The 3D model will take time to render then open a new tab with the rendering and the file explorer to name and save the model.